

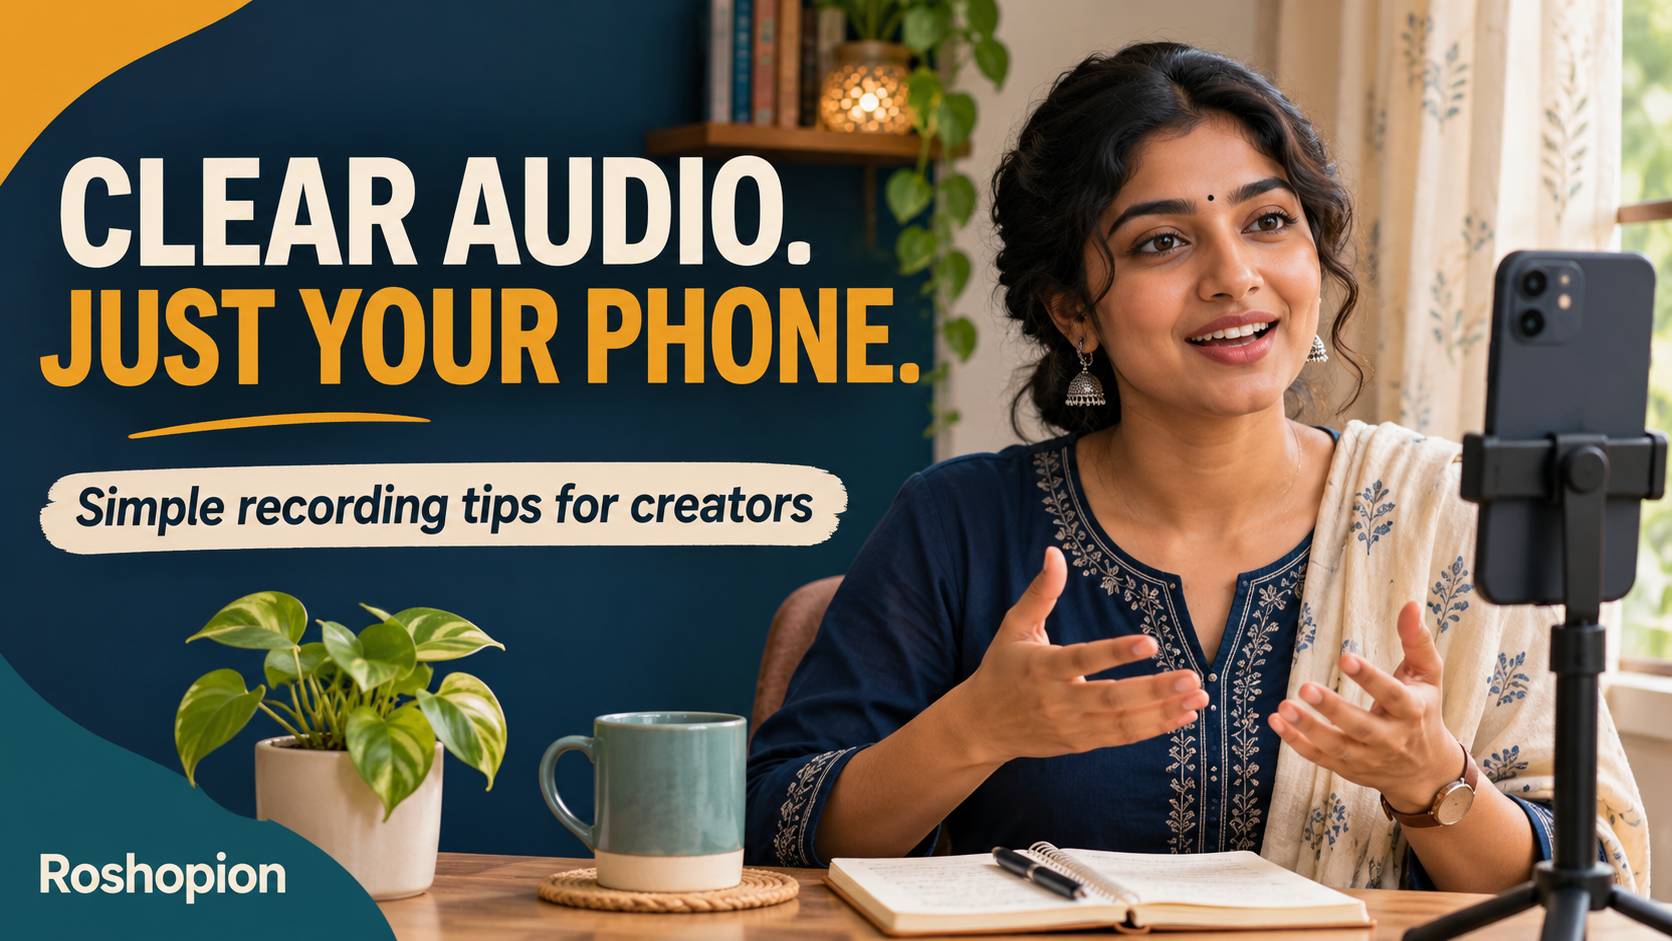
How to Record Clear Audio on a Phone: A Beginner Creator’s Guide

You record a useful explanation, watch it back, and discover that a fan is louder than your voice. Or the picture looks fine, but every sentence sounds distant.
Learning how to record clear audio on a phone begins before you press record. Your location, the phone’s position, and a short listening test give you practical choices you can make without buying equipment.
This guide focuses on spoken videos, simple interviews, and narration exercises. Phone microphones and recording controls differ, so use the tests below to find what works with your own device.
1. Listen to the Location Before Recording
Stand quietly where you intend to record. Listen for traffic, appliances, nearby conversations, construction, and wind. Some sounds are easy to overlook while concentrating on your script.
Record ten seconds of silence and play it back. Then record one sentence in your normal speaking voice. This gives you a starting point for choosing a better position or time.
If an appliance you control is making noise, pause it briefly when safe and practical. Do not compromise comfort or safety to achieve silence. Often, moving to a quieter corner or recording at another time is the simpler option.
2. Compare Two Spots in the Same Room
A room can sound different depending on where you stand. Instead of assuming that the most attractive background is the best recording position, test two options.
Try a furnished area with curtains or soft furniture, then compare it with a bare corner. Listen for how long your voice seems to linger after each sentence. Soft furnishings can help reduce reflected sound, but the actual result depends on the room.
Keep your voice and script similar during both tests. Choose the location where the words are easier to understand. A plain background is acceptable for a useful spoken explanation.
3. Bring the Phone Closer Without Blocking the Picture
When the phone is far away, the recording may include more of the surrounding room relative to your voice. Try a closer position before deciding you need a microphone.
For a simple starting test, record the same sentence with the phone approximately an arm’s length away, then move it somewhat closer. Keep the framing comfortable and listen to both clips.
There is no universal distance for every phone and voice. Avoid speaking directly into the device from extremely close range if breaths or popping sounds become distracting. Adjust the angle and distance gradually.
Check that your hand, stand, or case is not covering a microphone opening. Consult your device’s official guide if you are unsure where its microphones are located.
4. Keep the Setup Stable
Place your phone on a secure stand or stable surface. Avoid holding it while repeatedly changing your grip, tapping the table, or moving papers near the device.
For a hands-on demonstration, rehearse the actions once. Notice whether handling objects creates sounds that interrupt the explanation. You might finish a noisy action before speaking or record a separate explanation afterward.
Keep the setup safe. Do not balance a phone where it can fall, and leave a clear route for anyone moving around the room.
5. Record a Short Test With Your Actual Delivery
A quiet “testing, testing” does not tell you how the full performance will sound. Include a sentence from the real script, a natural pause, and the loudest line you expect to deliver.
Play it back before recording the complete piece. Use headphones you already own if available, and also check whether the speech is understandable through the phone speaker.
Listen for these practical issues:
- Words that are difficult to hear.
- A harsh or crackling sound on louder phrases.
- Breaths or popping sounds that distract from speech.
- A background sound that masks key words.
- A noticeable change when you turn your head.
If the recording sounds distorted, try speaking a little less forcefully or changing the distance. If your app exposes recording-level controls, consult its documentation before adjusting them.
6. Use Pauses to Make Editing Easier
If you make a mistake, stop briefly and repeat the whole sentence. A clean pause gives you a clearer place to trim than speaking immediately over the error.
For longer explanations, record a few complete sections rather than forcing yourself through one uninterrupted take. Keep the phone and your position consistent so the sound changes less between sections.
Use any trimming function already available on your device. You do not need music, effects, or additional software for a first exercise. Focus on a recording where the audience can follow the words.
A Free Three-Take Practice Exercise
Write a short explanation of something you know well. Record it three times:
- In your original position.
- In a quieter spot with similar framing.
- In the quieter spot with a revised phone distance.
Keep the wording and speaking volume as similar as practical. Label each clip and note the location and distance.
Compare the recordings using one question: “Which version lets me understand every sentence most easily?” Ask a willing friend the same question if you want another listener’s perspective. This is a practice comparison, not a promise that one setup will work everywhere.
Check the Finished Video Before Sharing
Watch the complete export. Check that trims have not cut off words and that speech remains consistent between sections. If you add captions, correct names and any words the automatic transcription misunderstood.
Captions can support access, but they do not repair an unclear recording. Keep the speech as understandable as you can, and avoid recording private conversations in the background.
If your recording becomes a work sample, describe what you actually did. For a broader starting point, read how to build a creator portfolio with one small project.
Accessible Craft and HumanTech™
Roshopion’s HumanTech™ mission centers people, development, cooperation, and accessible participation. Testing a simple setup helps make creative practice manageable with resources already available.
THE ROSHOPIONS™, The Open Human Incubation Show, is Roshopion’s flagship show vision. Its guiding line—Discover. Develop. Create. Become.—also fits independent skill practice: discover a recording problem, develop your setup, and create another version.
This exercise is independent practice, not an application or promise of selection or work.
What is your biggest recording challenge: background noise, echo, distant speech, or handling sounds? Share your experience in the comments.