How to Build a Creator Portfolio: Start With One Small Project

Someone asks to see your work. You have ideas, saved references, and a few unfinished attempts—but nothing that clearly shows what you can do.
This is a common starting point for emerging creators. You want experience, yet introducing yourself becomes difficult when you have little finished work to share.
A creator portfolio can begin with one small, self-initiated project. Choose a skill, give yourself a manageable brief, and finish something another person can understand.
Here is how to build your first portfolio entry using a phone, simple materials, and time set aside for practice.
What Should a Creator Portfolio Show?
A useful portfolio helps someone understand your work, your contribution, and your creative choices.
Your first entry should answer three questions:
- What did you make?
- Which parts did you do?
- What skill does this example demonstrate?
An aspiring presenter could record a short explanation. A writer could create a complete scene. A filmmaker could tell a simple story through a few shots. A designer could organize information into a readable poster.
Keep the claims accurate. A personal exercise is worth showing when it demonstrates thoughtful work. Label it clearly rather than suggesting that it was commissioned by a client.
Step 1: Choose One Skill
Start with a sentence:
“This project will show that I can…”
Complete it with a specific action:
- Explain an idea clearly.
- Write dialogue with a clear conflict.
- Tell a story through images.
- Deliver a short performance.
- Arrange information so it is easy to follow.
“Show my creativity” is difficult to plan around. “Explain one useful idea in 30 seconds” gives you a clear task.
Choose a skill you can practice with the resources available today. You can explore other strengths through later projects.
Step 2: Write a Small Project Brief
A brief gives your project direction. Include the audience, format, purpose, and limits.
Here is a sample brief:
Create a 30-second video for beginner creators explaining how to ask one useful feedback question. Use one location, original footage, and a phone.
This is a demonstration brief, not a real client assignment.
For a writing project, your brief might be:
Write a 400-word scene in which two friends disagree about whether to finish a creative project. Give each person a clear reason for their position.
For a design exercise:
Create a sample poster for an imaginary community reading session. Make the activity, date, and location easy to find. Label it as a fictional practice project.
A small brief helps you recognize when the work is complete.
Step 3: Plan a Version You Can Finish
Before creating, make a short plan.
For a video, write the opening line, the example, and the final takeaway. List the shots you need. For a scene, decide what each character wants and what changes by the end. For a poster, write the information before choosing its arrangement.
Set a practical time boundary. A first session of 60 to 90 minutes may be a useful starting point, depending on the task.
If the idea requires several locations, unfamiliar equipment, or a large group, reduce its scope.
A conversation at one table can demonstrate dialogue. Three shots of an everyday action can demonstrate visual storytelling. One clear page can demonstrate information design.
Give yourself a task small enough to finish and review.
Step 4: Create With What You Have
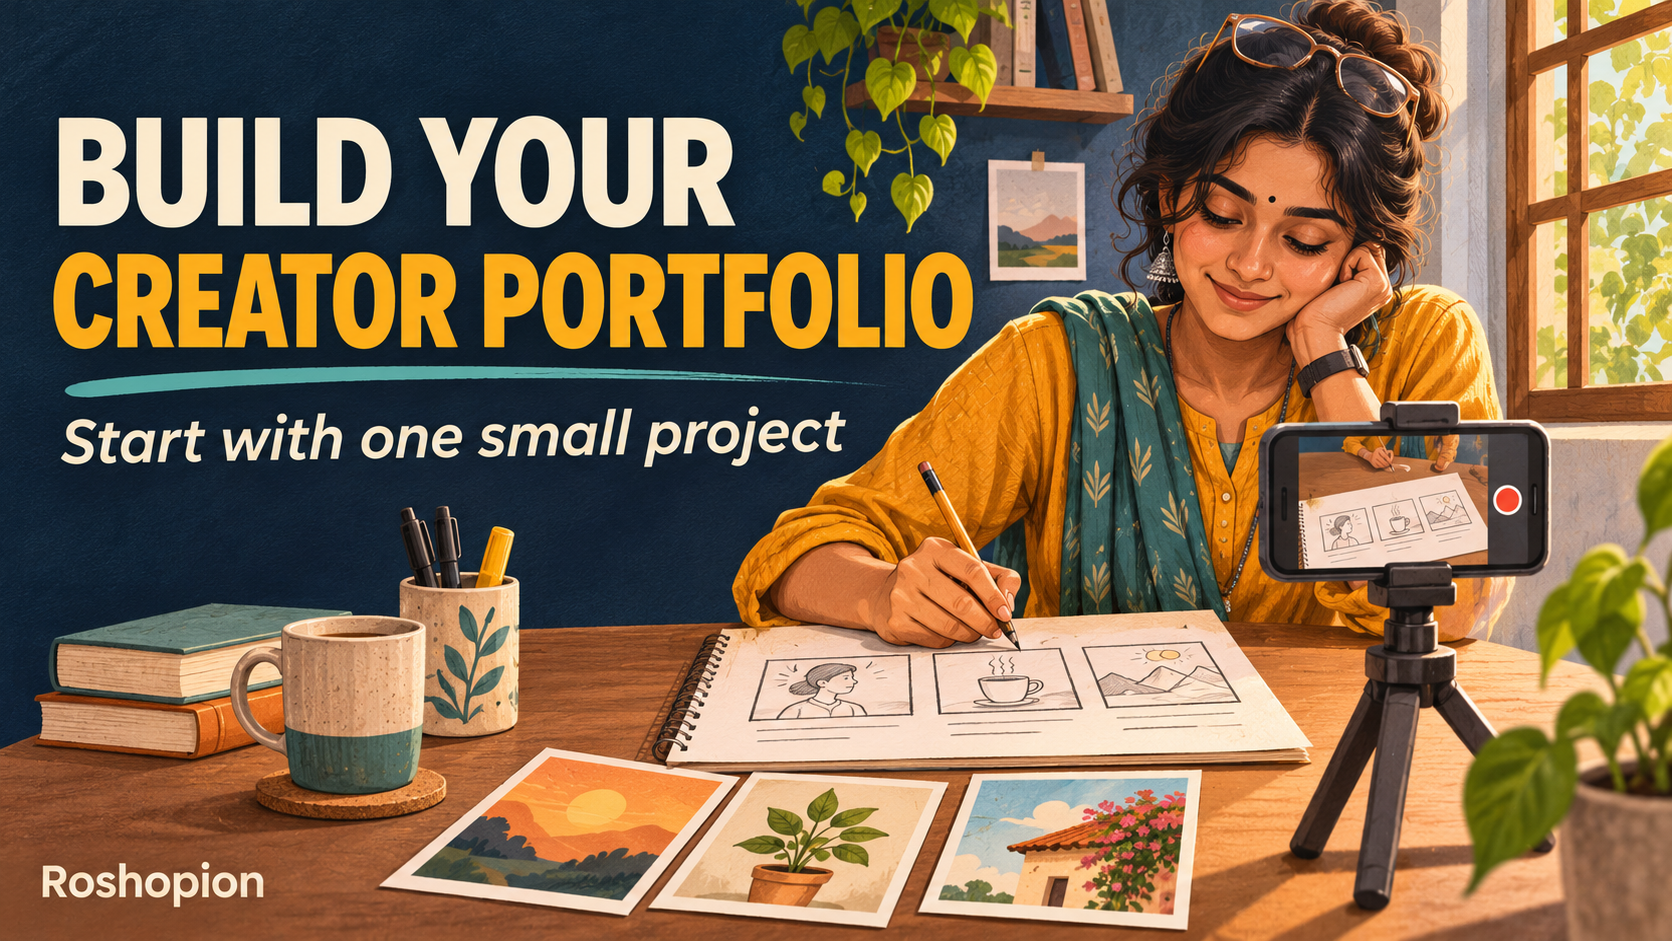
For a phone video, start with a stable surface, comfortable daylight, and a quiet space. Record a short test to check that your voice is audible and the subject is visible.
A continuous take is enough for many exercises. If your phone already supports trimming, use it to remove unnecessary pauses at the beginning and end.
For writing, paper or an existing text editor can hold your first draft. For visual planning, draw rough boxes on a page and sketch what each shot or section should contain.
Use original material or material you have permission to use. Skip music, stock footage, and decorative assets if they introduce extra work or unclear rights.
Focus your effort on the skill named in your brief.
Step 5: Explain Your Contribution
Once the piece is finished, add a short project note.
Use this structure:
Project: What you made.
Purpose: Who it is for and what it should communicate.
My contribution: The tasks you completed.
Creative choice: One decision and your reason for it.
Next improvement: One thing you would change.
For example:
Project: A 30-second presentation exercise about creative feedback.
Purpose: Help beginners replace a vague question with a specific one.
My contribution: I wrote, presented, and recorded the video.
Creative choice: I used a handwritten question card to make the example visible.
Next improvement: I would shorten the introduction and leave more time for the example.
This is a sample description. Adapt it to your actual work.
If someone helped, credit their contribution accurately. Clear roles help viewers understand what the project demonstrates about you.
Step 6: Ask for Focused Feedback
Choose one question that matches your project’s purpose.
For a presentation, ask: “Which sentence was unclear?”
For a story, ask: “What did you think the character wanted?”
For a poster, ask: “What information did you notice first?”
Listen to the response, then decide what to change. You do not have to follow every suggestion. A reviewer’s observation can help you identify a problem while leaving the solution to you.
Keep the original and the revision. Write one sentence about what changed and why. That note can become part of your portfolio entry.
Step 7: Organize Your First Entry
Keep the finished piece and its description together in a clearly named folder. Include the date and a version number so you can find the right file later.
A simple title might be:
“Creative Feedback: A 30-Second Presentation Exercise.”
When you are ready to share it, choose a destination you can manage. Check that the piece contains no private information and that collaborators have agreed to any public use of their names, images, or contributions.
Add more entries gradually. Choose projects that reveal a new skill or a meaningful improvement.
How This Connects With HumanTech™
Roshopion’s HumanTech™ mission centers human development, cooperation, and accessible participation. A small portfolio project puts those values into practice: make something, invite a useful response, and take another step.
THE ROSHOPIONS™, The Open Human Incubation Show, is Roshopion’s flagship show vision. Its guiding line—Discover. Develop. Create. Become.—also offers a useful rhythm for creative practice.
Discover a skill you want to explore. Develop it through a focused exercise. Create a finished piece. Reflect on what you learned.
This portfolio exercise is independent practice. It is not an application, audition, selection route, or promise of work.
Choose one skill and write a small brief today. Your first finished example gives you something concrete to share—and something you can improve.
What will your first portfolio project show: writing, presenting, filmmaking, design, or another craft? Share your idea in the comments.